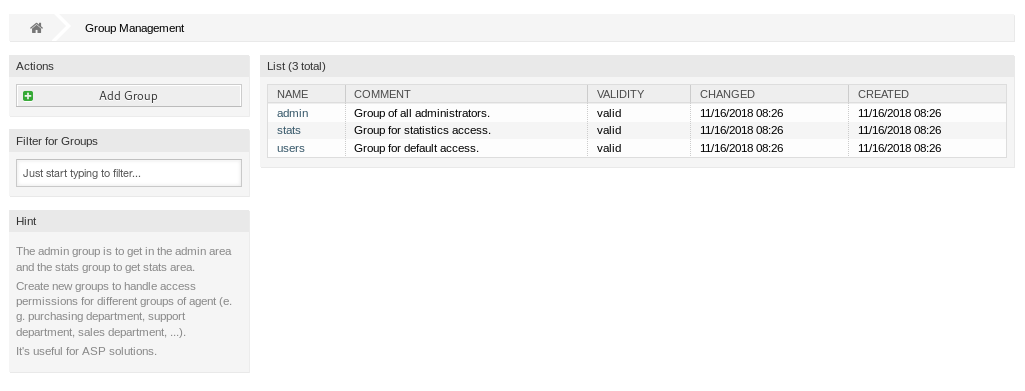
Use this screen to add groups to the system. A fresh OTRS installation contains some default groups. The group management screen is available in the Groups module of the Users, Groups & Roles group.

Manage Groups
To add a group:
-
Click on the Add Group button in the left sidebar.
-
Fill in the required fields.
-
Click on the Save button.

Warning
Groups can not be deleted from the system. They can only be deactivated by setting the Validity option to invalid or invalid-temporarily.
To edit a group:
-
Click on a group in the list of groups.
-
Modify the fields.
-
Click on the Save or Save and finish button.

Note
If several groups are added to the system, use the filter box to find a particular group by just typing the name to filter.
Group Settings
The following settings are available when adding or editing this resource. The fields marked with an asterisk are mandatory.
- Name *
-
The name of this resource. Any type of characters can be entered to this field including uppercase letters and spaces. The name will be displayed in the overview table.
Note
Renaming a group does not affect permissions previously given. When group1 is now called group2, then all the permissions are the same for the users which used to be assigned to group1. This result is because OTRS uses IDs for the relationship, and not the name.
- Validity *
-
Set the validity of this resource. Each resource can be used in OTRS only, if this field is set to valid. Setting this field to invalid or invalid-temporarily will disable the use of the resource.
Note
Invalidating a group does not remove the permissions from the user, but only makes them invalid. If you reactivate this group, even with a new name, the permissions take effect.
- Comment
-
Add additional information to this resource. It is recommended to always fill this field as a description of the resource with a full sentence for better clarity, because the comment will be also displayed in the overview table.
Default Groups
Every agent’s account should belong to at least one group or role. In a fresh installation, there are some pre-defined groups available:
admin-
Allowed to perform administrative tasks in the system.
stats-
Qualified to access the stats module of OTRS and generate statistics.
users-
Agents should belong to this group, with read and write permissions. They can then access all functions of the ticket system.

